
DIY: Pallet Wall
Confession: I was not the first person in our house to join Pinterest. That prize goes to my lovely wife. And I can't keep up with the thousands of things she's pinned, but I was quite surprised to find that she has a board dedicated to projects she wants me to complete. At first I found this type of commuication curious. Instead of asking me, "Hey, can you do this?", she created a board almost secritively and when it was discovered, I felt both flattered and un-included at the same time. My reaction was more of an "I'll show her!" reaction and I picked the biggest badest project I could find...the pallet wall!
With this project complete and my to-do list growing...I've got to get this post up and get back to work!
Inspiration
Cape 27 is the source of the pin that started it all. They have a great tutorial and tips for completing a pallet wall. Most of the steps I took were based on their post. I modified as needed, as you'll read in the details below.
Tools & Supplies Used
- Gloves
- Goggles
- Reciprocating saw
- Circular saw
- Hammer
- Flat bar
- Stain
- Rags
- Plastic
- Rubber gloves
- Air compressor
- Finish nailer
- Finish nails
- Chalk line
- Level
- Speed square
- T bevel (needed for vaulted ceiling)
- Stud finder
- Step ladder
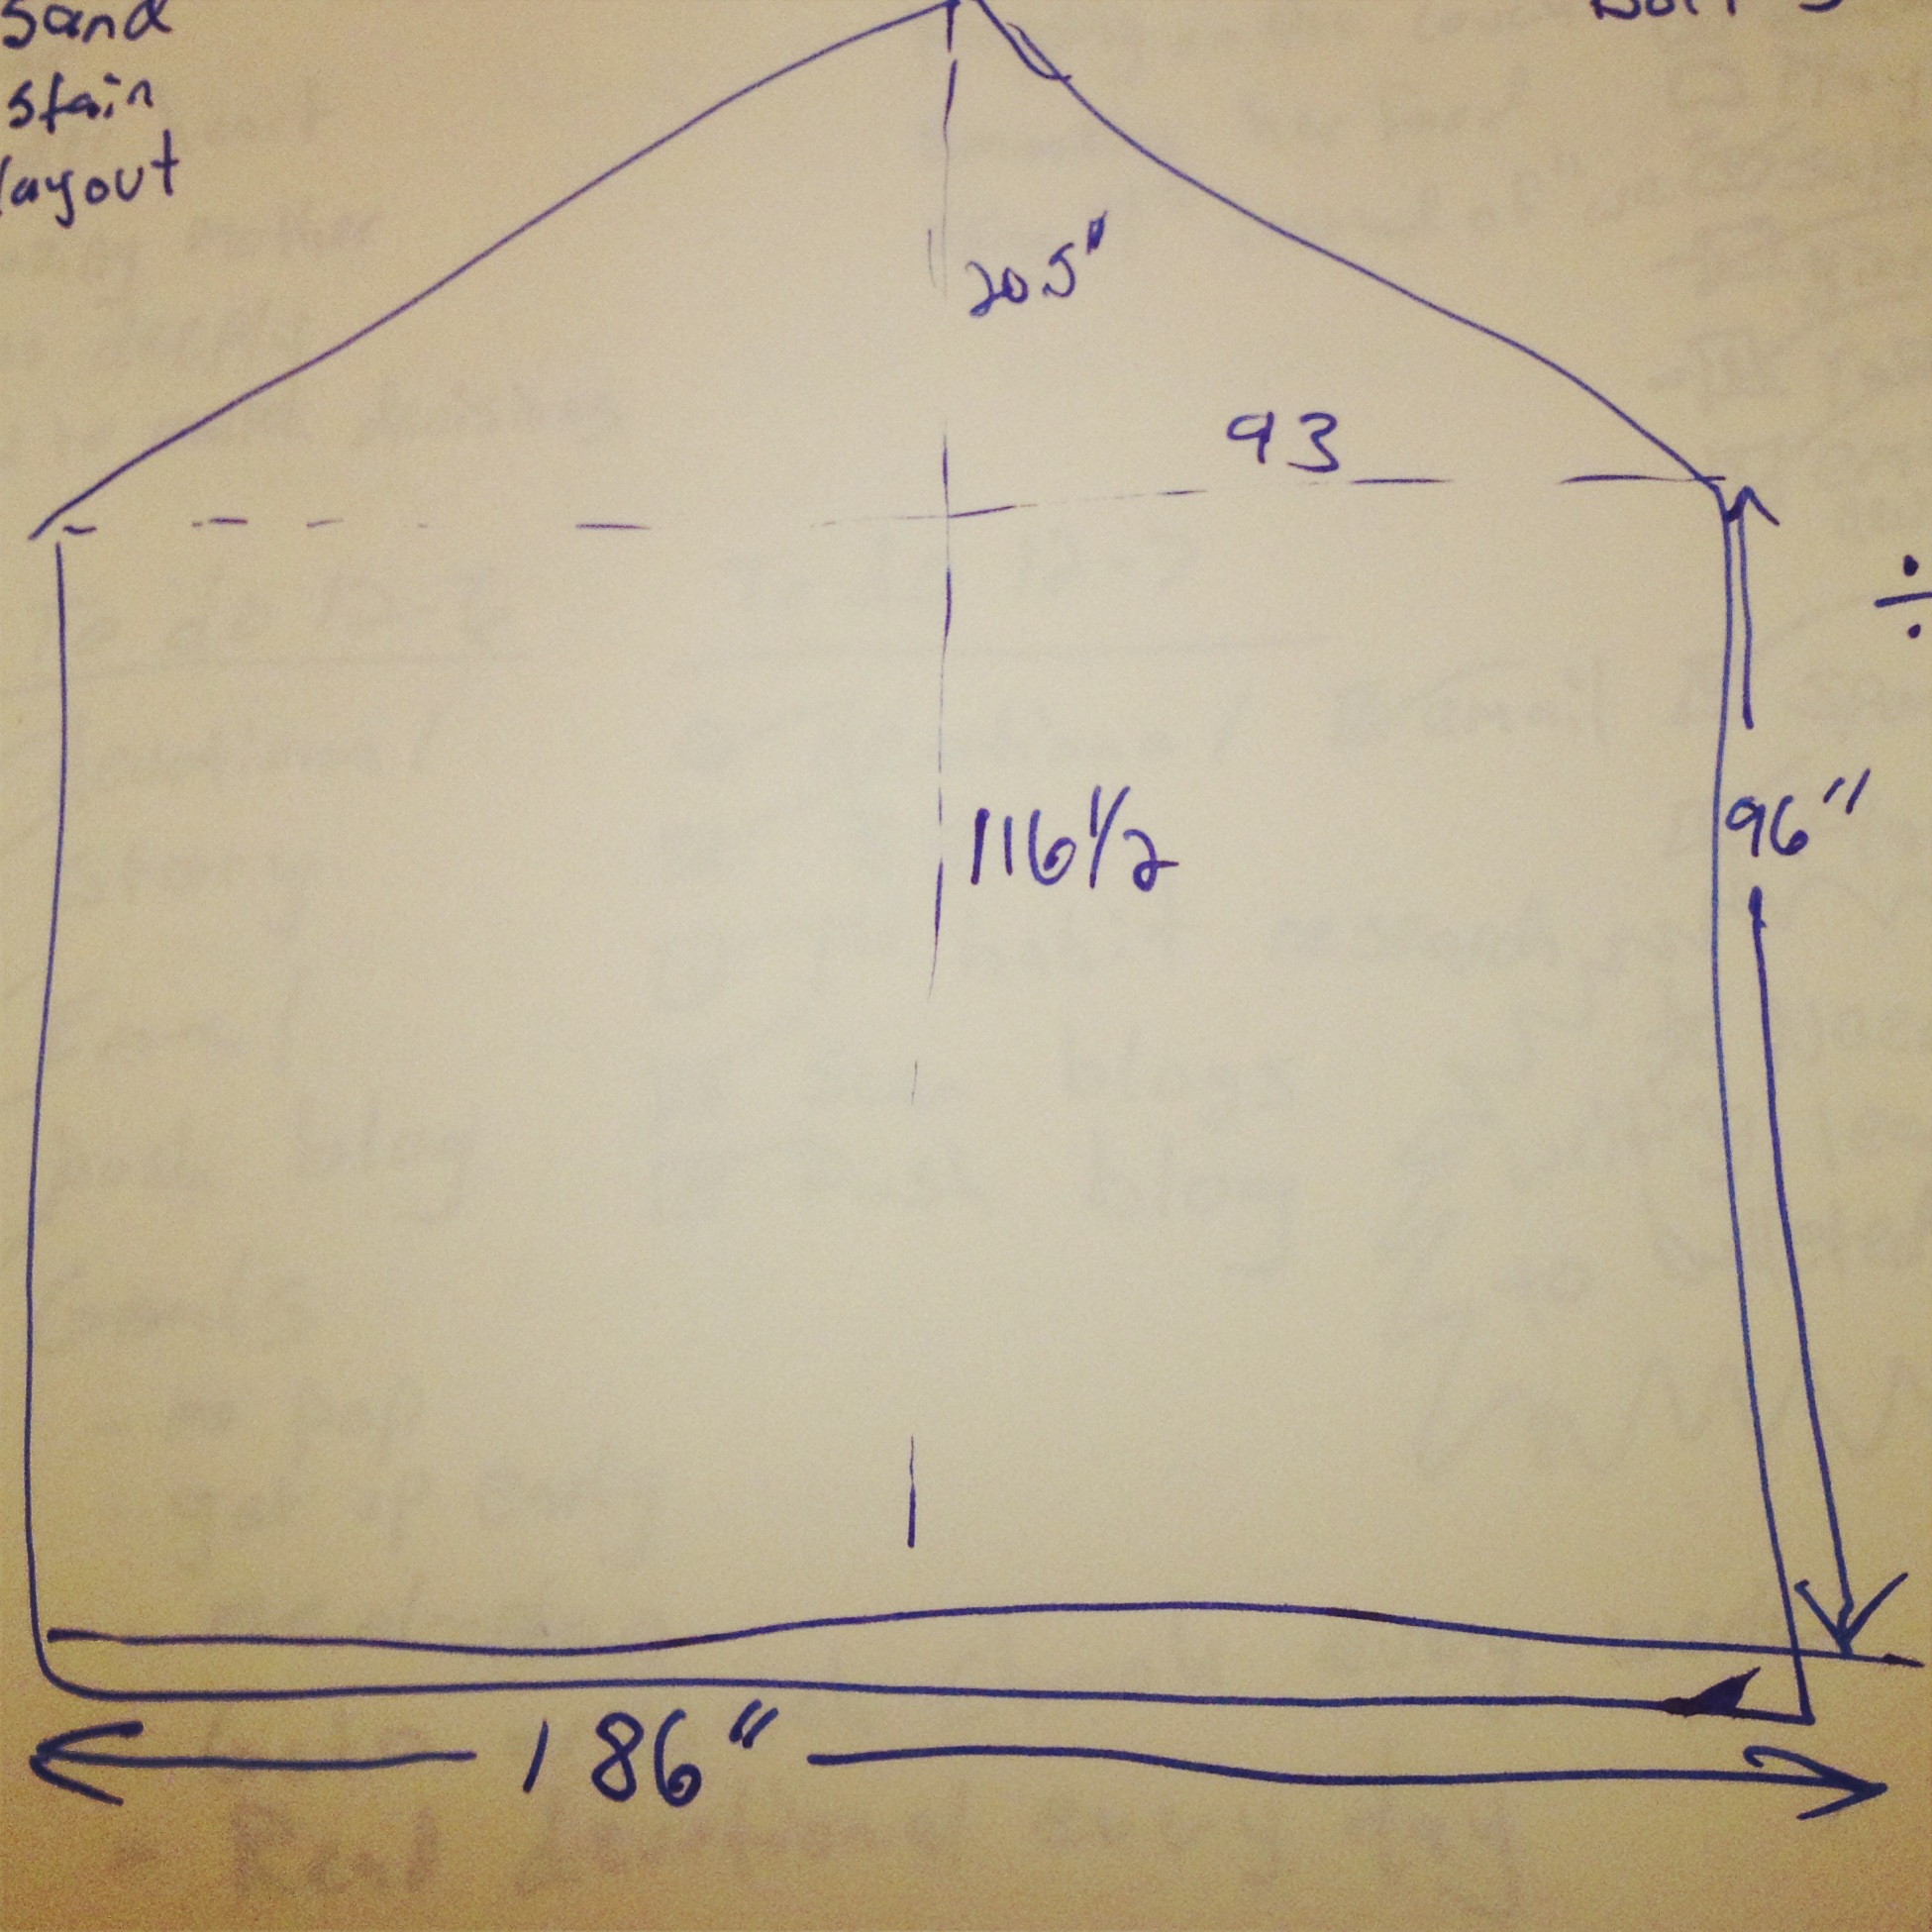
Let it be known, we had to pick the biggest wall in our house and also one with a vaulted ceiling. Our wall dimensions are: 186" wide x 116.5" high at the peak. The sides are a height of 96".
1. Gather Pallets
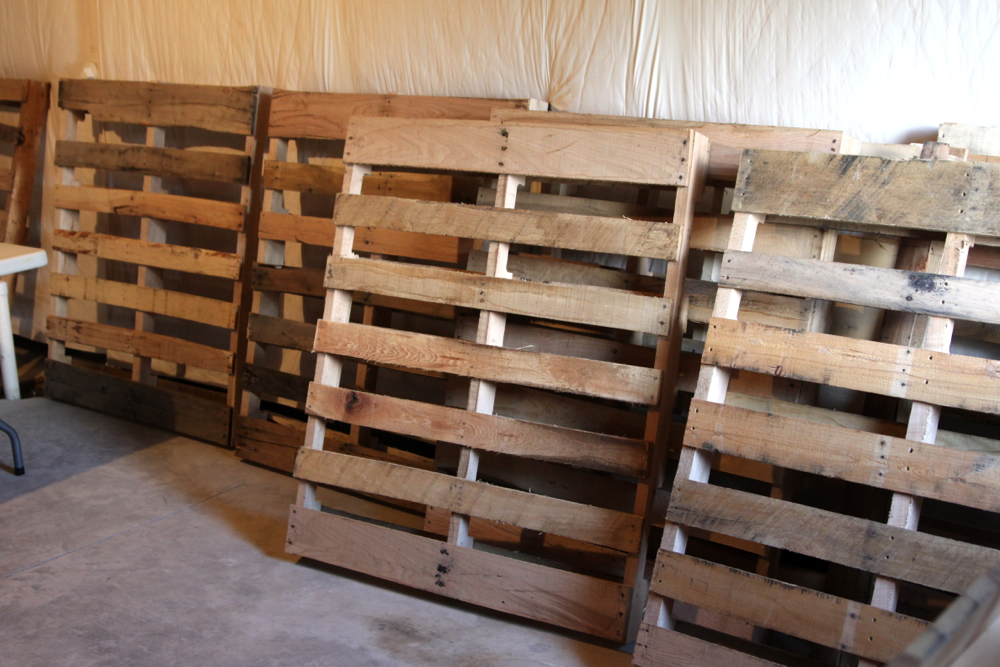
My employer has a print shop and gets pallets of paper all the time. They stack them up and usually the delivery guy takes them back with him. I just had to request that they save some for me. We wanted a really rustic look, so I wasn't that picky and really wanted a wide variety of board widths, thicknesses, and wear. Because our minivan is so sweet, I put the back seat down and was able to get seven or eight pallets in the back. I made three trips for a total of 22 pallets.
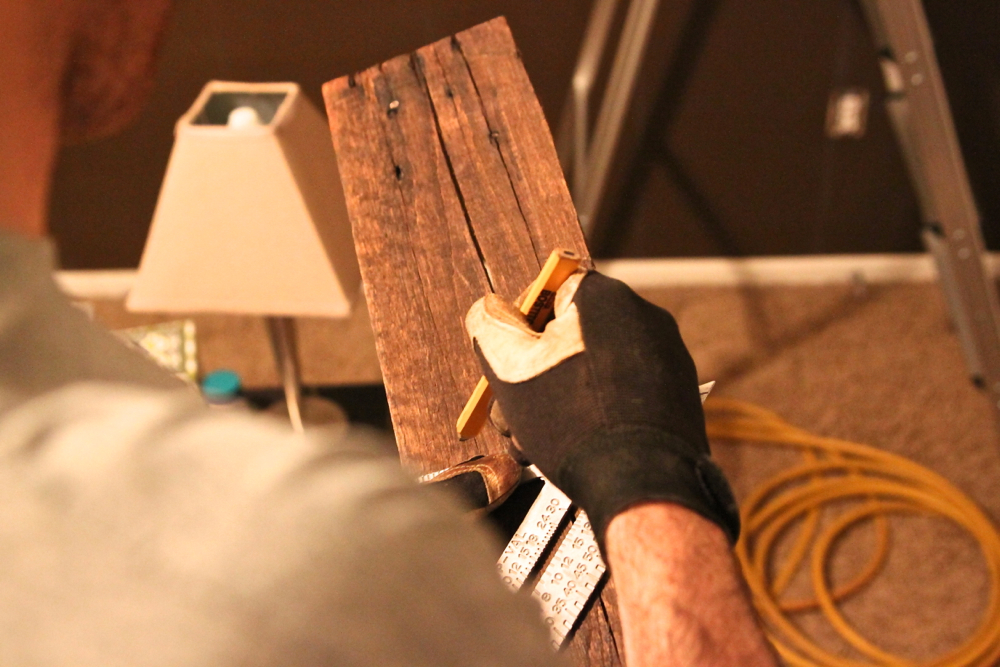
2. Break Down Pallets
Tearing apart the pallets was time-consuming and kind of difficult as a one-man task. I could have used an extra set of hands. I stood the pallets up on end and used a reciprocating saw to cut the nails off that were connecting the planks to the three main pallet boards.
Tip 1: Buy a long blade made for metal. I was cheap and used a few short blades that my dad let me borrow. I broke a few in the process (sorry, Dad). They are kind of expensive (like $20 I think?) but it would have saved a lot of time. The short blades don't work very well on the wider boards when you get to the middle of the pallet. The blade doesn't quite reach the nails and then I ended up fighting with them quite a bit. A long blade would have solved that problem.
Tip 2: If the ends are too mangled to use, simply use a speed square to draw a straight line and then saw off the unusable section.
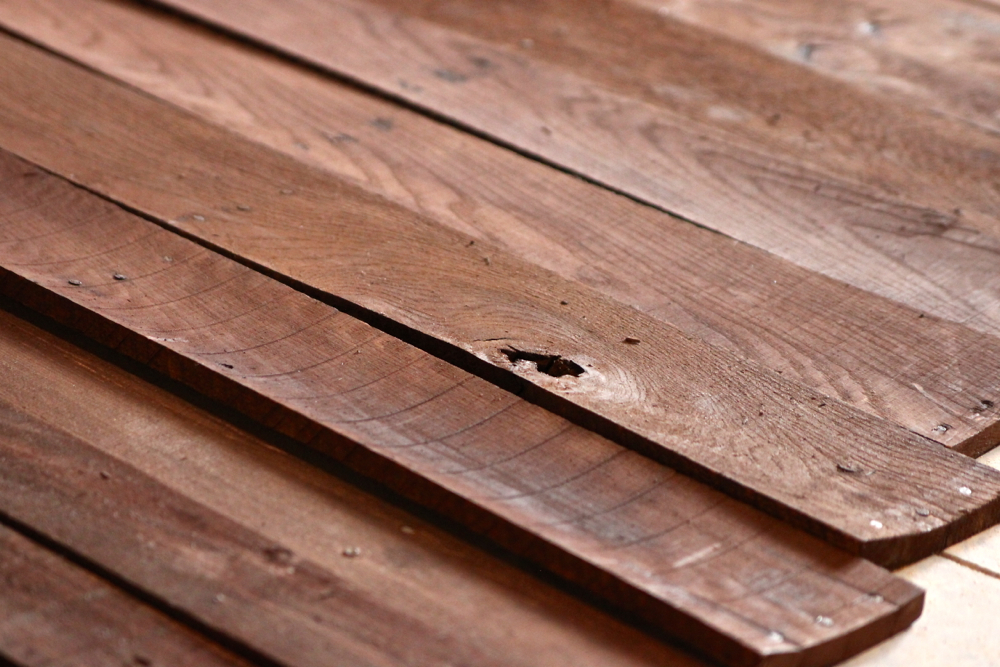
Stain
We contemplated a few different stain options. Kelsey has had an interior design epiphany. She loves white. Her rule when it comes to deciding what color of home decor to buy is "just get the white." She's found that over time she wishes she would have bought certain items in white. So, we thought about white, but she really liked the look of the Minwax Special Walnut. (Expect a follow-up post in about a year or so where we white wash the pallet wall. ;))
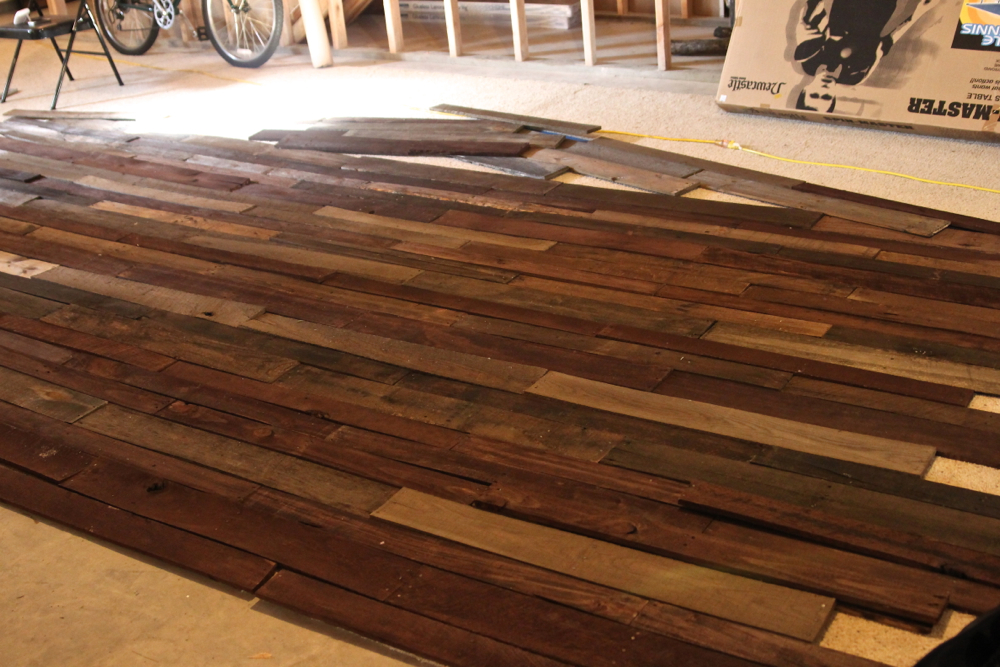
3. Sort & Plan
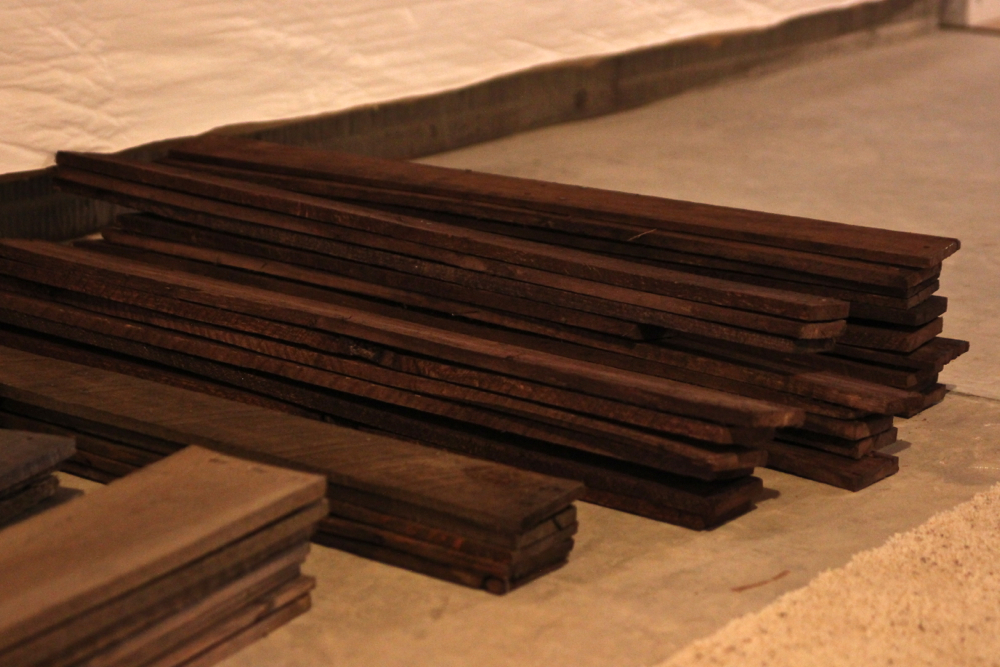
As I was tearing apart the pallets, I stacked them up in like-width piles. This was to create even-width rows once we were ready to hang the boards on the wall. I had the luxury of an unfinished basement with lots of room to work. The challenge we had that Cape 27 did not is that our bedroom wall has a vaulted ceiling. I measured the wall in our bedroom and used painter's tape to make a template on our basement floor. Then I laid out pallets in like widths and tried to randomize the thicker widths with the skinnier ones. Once I knew we had enough, I was able to carry up a few rows at a time and hang them as I went.
4. Wall Prep
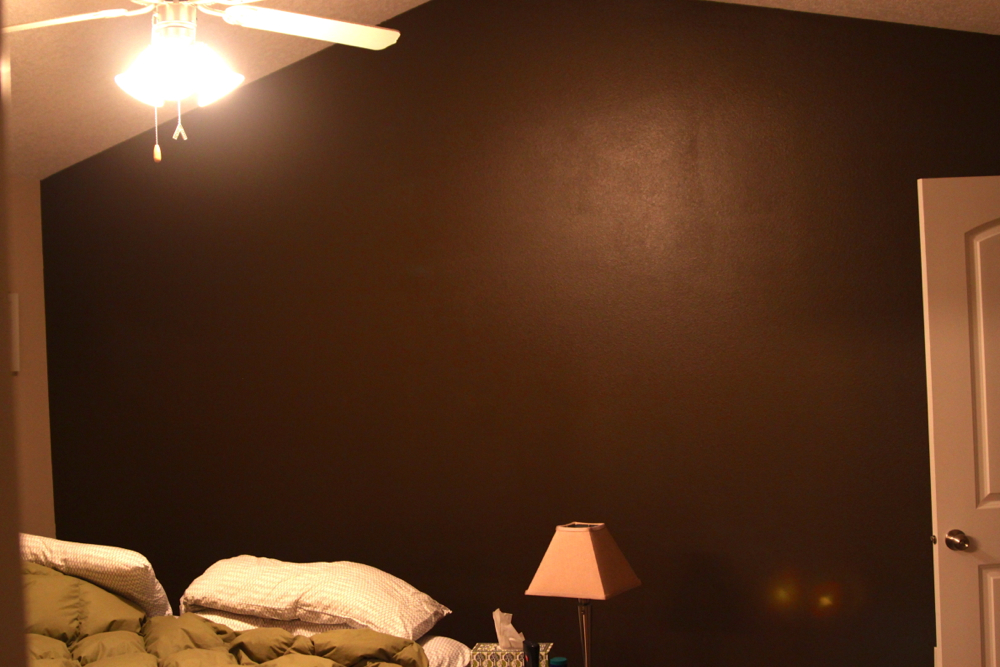
Our wall was already painted chocolate brown. This turned out to be in our favor. Because some of our pallet boards were warped, cracked, or had knot holes missing, the dark wall semi-hid those defects. Unless you are gathering immaculate pallets or using a white stain/paint, you might think about priming your wall a similar color to your boards.
I used a stud finder to mark where I should eventually finish nail the boards to the wall and then used a chalk line (with Kelsey's help to snap a line) for nailing. We also snapped a level horizontal line between the top corners, to mark where the peak starts.
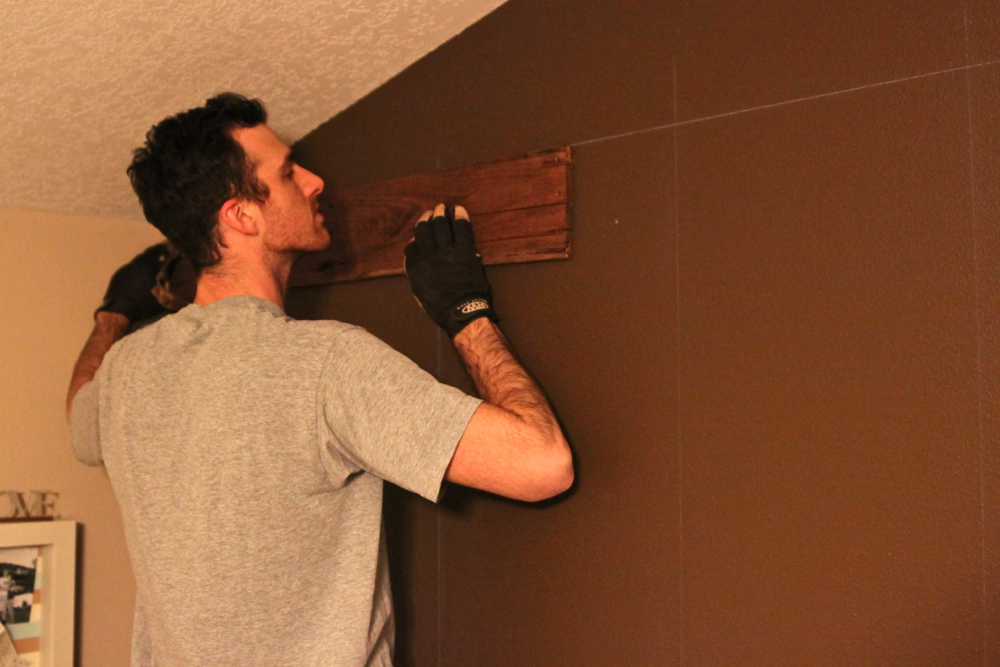
5. Hang Boards
We started near the top of the wall, before it starts its peak. This was a suggestion from Cape 27 and their thinking was that when you get to the bottom, if the width of the boards didn't work out exactly and you had to cut them horizontally, it would be better to have those half-pieces at the bottom of the wall than at the top. We had to trim some slivers for the bottom, and in hindsight, we should have just started at the bottom of our wall since we have a peak. Because we started in the middle of the wall, we had to cut boards at both the top and the bottom.
Regardless, we started level and remained pretty level as we worked our way down the wall. And when we were done with that, we started the peak and worked up to the top. And because our boards were warped, we ended up having to notch out certain boards to remain somewhat level. The angles...oh, the angles. I put my ol' siding skills to the test and bought a T bevel. However, the angle was too steep and it left me with a lot of trial and error.
There was one cut piece that took me at least six tries, back and forth from the garage, up and down off the ladder, all while Kelsey was laying on the bed, giggling at me. Too frustrated to laugh at myself, we argued about the situation into the wee hours of the morning...Kelsey helped by taking scrap slivers and filling in the gaps. This is in no way perfect, but we like the look of imperfection.

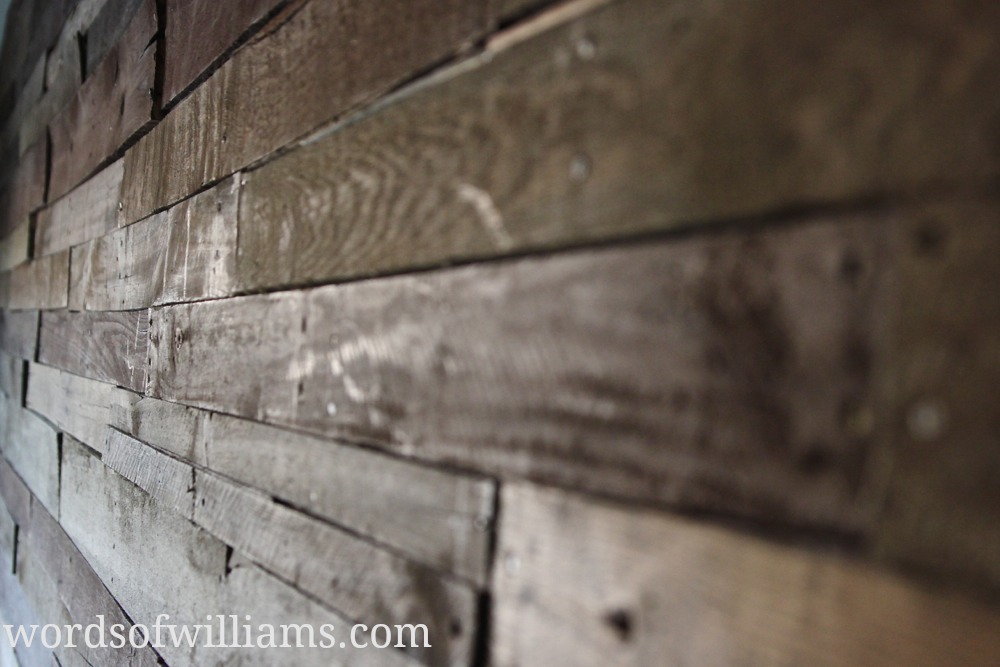
6. Enjoy the Finished Product
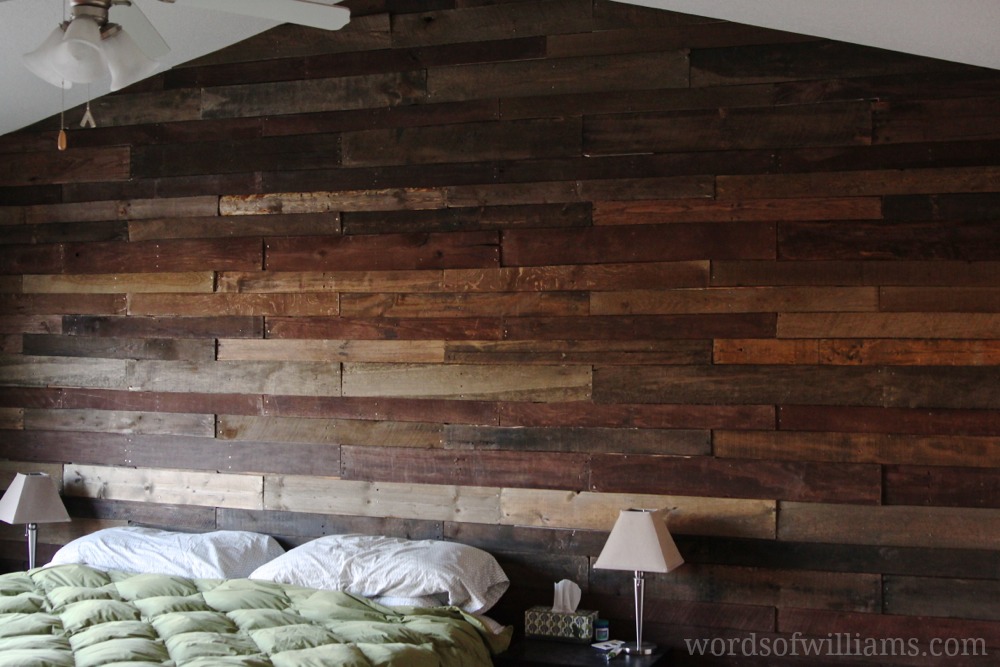
It feels like we are sleeping in a log cabin! We absolutely love it! We're working on planning out the rest of our master bedroom makeover and the pallet wall is just the center focal point we needed to start with. Up next is a new vanity station for Kelsey, and a dream closet makeover. We already have a trip to IKEA planned for the end of March.
Who's putting a pallet wall on their DIY list?